If you are citizen of an European Union member nation, you may not use this service unless you are at least 16 years old.
You already know Dokkio is an AI-powered assistant to organize & manage your digital files & messages. Very soon, Dokkio will support Outlook as well as One Drive. Check it out today!
My wife saw rather less of me than either of us would have liked in the weeks leading up to the cruise. The majority of the work was on the rig; I wanted this:
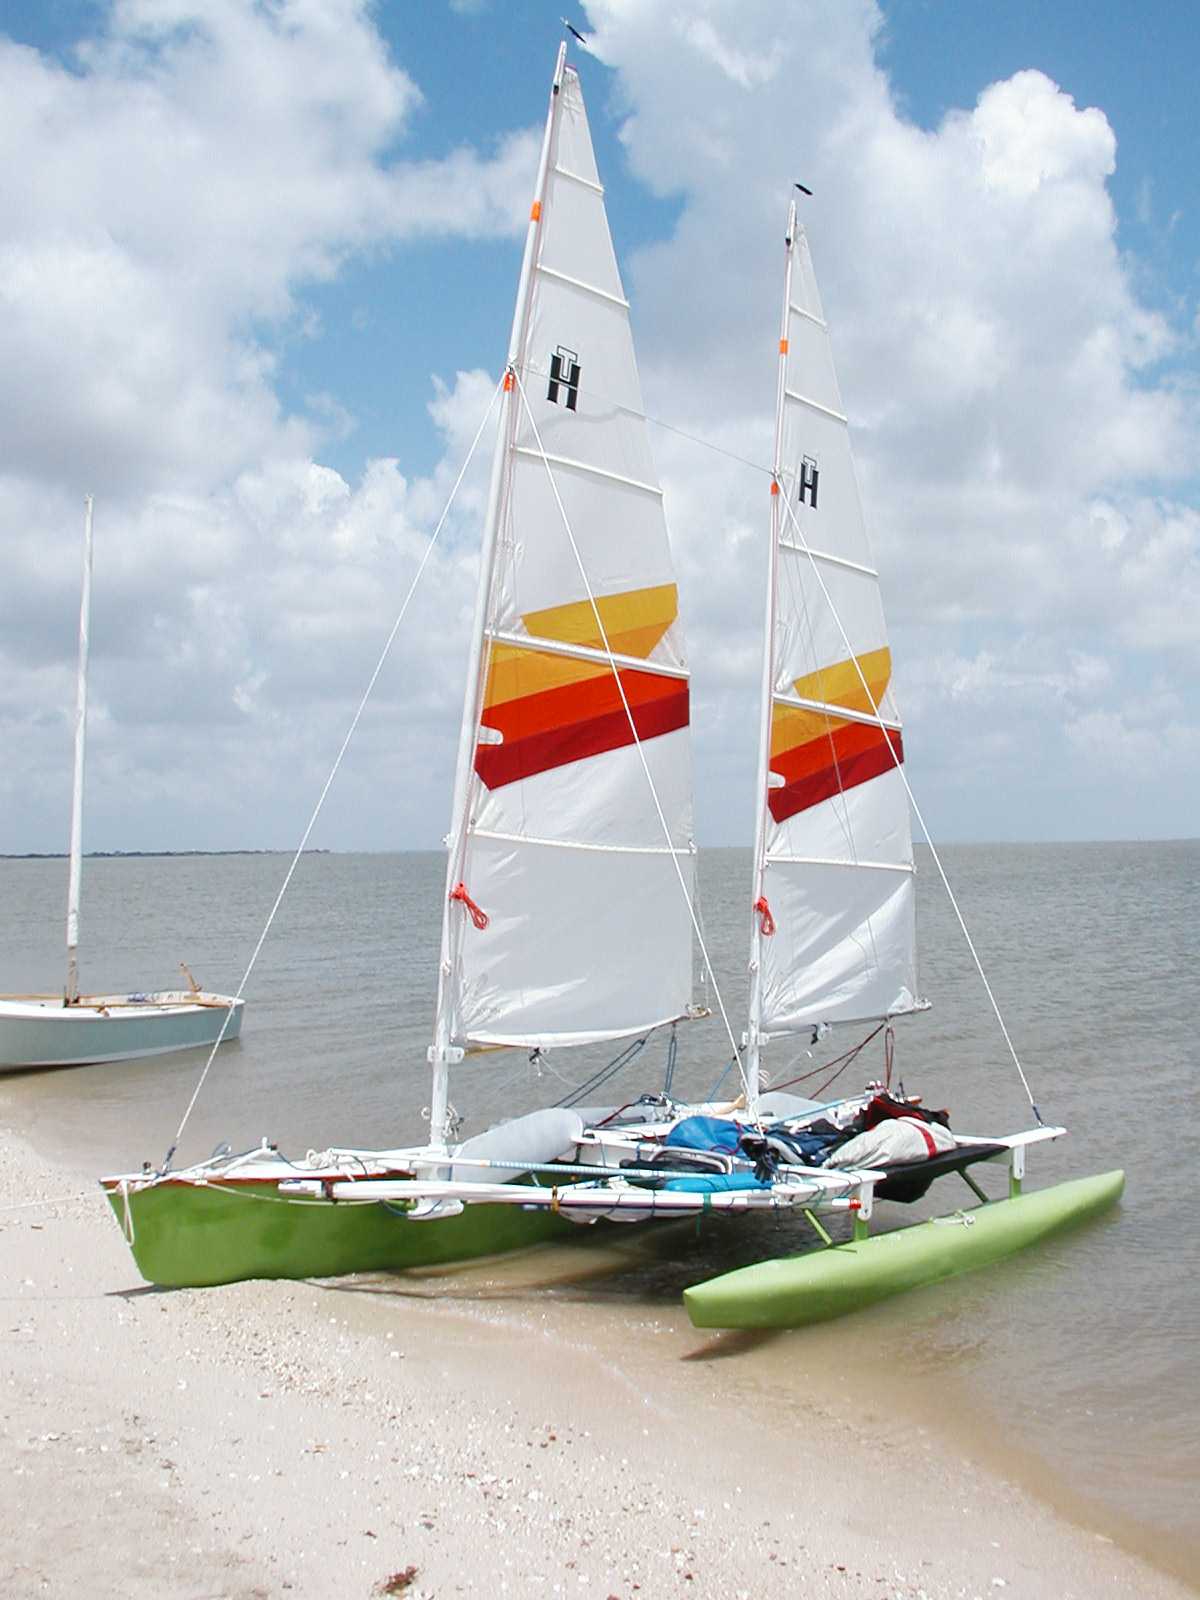
to look like this:
(photo by Linda Lansdowne)
Which is to say, I cut off the luff socks, reduced the luff curve quite a lot, glued a 1/2" pvc tube to the mast to make a mast track and wrapped it with carbon at the critical spots, the top and the reef points, made batten pockets and battens, installed slugs and two reef points on each sail, and did a bunch of other little stuff. I'm not a sailmaker, at all. I can get it done, but it takes me a long time and it's a lot of work. Every time I do sail work it's because I can't bring myself to just pay someone to do it, and every time it's done I swear I'll never do it again, next time I'll just hire it out.
So, in the fullness of time it got done. One exciting moment was cutting the luff curve down; I got the sails as new, unfinished 'blanks' from Bacon Sails, whom I recommend very highly. They were the right size, there were two of them, and they were brand new, so that was good. But when I sewed the socks on them and went sailing it was clear they were way too full for the boat. It's likely that the socks made them more full than they already would have been, but still, they were meant for a dinghy, not a boat that I hoped would exceed ten knots pretty regularly.
The majority of the shaping was in the luff curve. So I ripped the tape off the luff and measured the curve. It looked like this:
The maximum depth of the curve was six inches. I went up the luff and every foot or so I measured the luff curve, cut that measurement in half, and put a dot there on the sail with a pencil. Then I tried to make a fair curve of the dots, and I cut. Gulp. I really am not a sailmaker. The result was this:
Then I got the ol' Pfaff 130 out and went to work. I didn't take any in-progress pictures of sewing the sails. I cut corners and reef points and batten pockets out of dacron I got from Sailrite and sewed them on, and hoped it would all hold.
Some stuff I had done earlier; I made the goosenecks:
and I made up something for the boom ends:
I turned the plugs to fit the broken aluminum windsurfer mast bits I was using as booms, and then drilled out a hole in the sides of the plugs and sank wingnuts in epoxy, to make something I could thread the eyebolts to on the ends of the booms.
I glued the pvc to the masts and wrapped the head of the masts and the reef points in carbon:
The red sticks are dowels wrapped in duct tape, to force the carbon into the groove. It worked ok, I ended up having to bog a bit to fill some gaps, but not too bad.
The crucial test fit:
Sails fit! Custom masthead slug fits! Slugs go up and down! Woo hoo!
I really was worried.
I finally didn't get done so much as run out of time. I spent the Friday before I left for Port Mansfield rigging in the driveway, making sure the reefing worked and hanging off the booms to see if the masthead slugs would pop out of the mast tracks at the reef points. I greatly fear the two little girls next door think I'm crazy.


Comments (0)
You don't have permission to comment on this page.